Contrenot Conclusions
2016-12-03
As the Stanford academic quarter wraps up, so must this project. It has been quite the ride. Most of the functionality and assembly was done last week, so this week was spenty tidying things up and making things nice. For starters, I organized the code a little bit and made a project page.
Painting
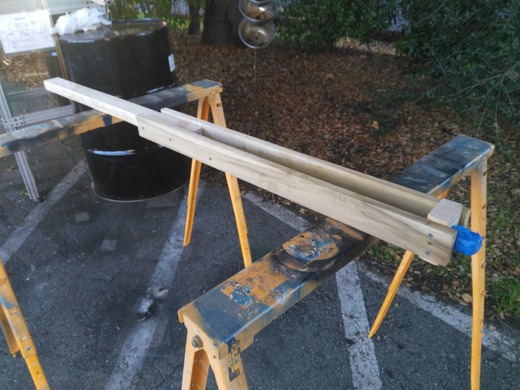
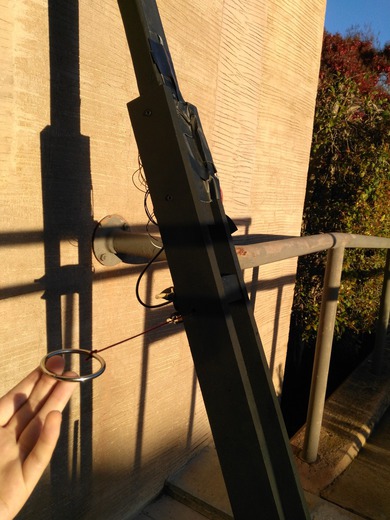
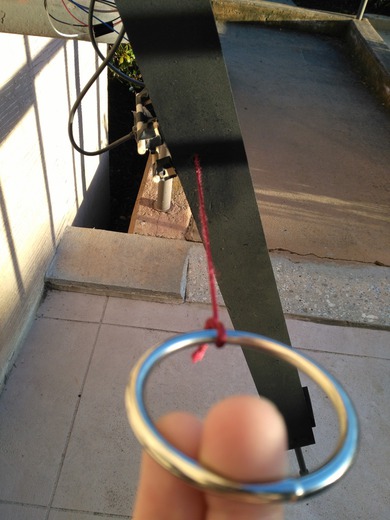
The wood I used for the body was pretty cheap and shoddy, so I opted to spray paint it black. The pictures above show the contrenot being prepped for spray paint. Before spray painting, I took some time to smooth some of the edges around the neck (no pictures of that unfortunately).
Remounting
After the spray paint job, the components had to be mounted on. The sensor strips were a taped back onto the neck.
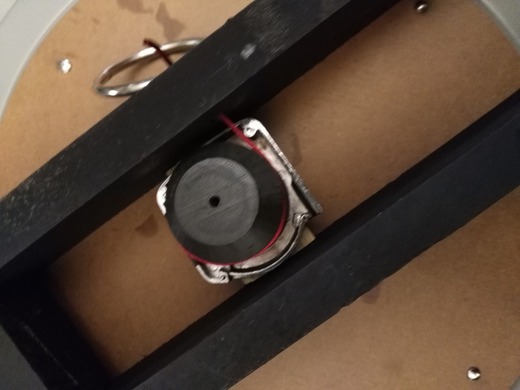
Next was the process of mounting and rewinding the pull string sensor, partially seen in the picture above.
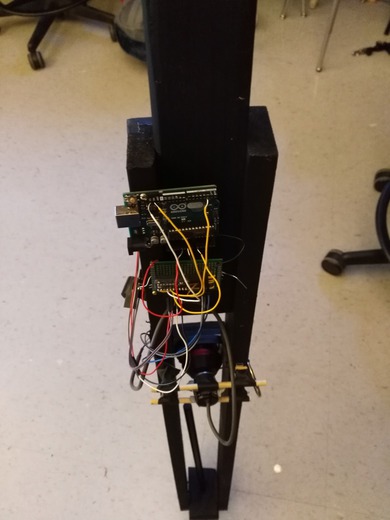
Next, the arduino was screwed on, along with the perfboard.
Then, the perfboard was wired into the arduino. Some effort was put into taping down the wires and making it look a little more pretty.
Sound design
With the hardware finally out of the way, I could finally take a day and focus on making a few cool sounds for the instrument (written in Sporth, naturally). The patches can be found here.
final results
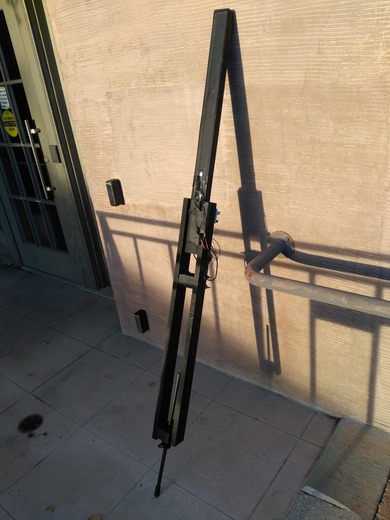
Here is what the final instrument looks like:
The pictures above feature the pullstring mechanism, which has gone through many iterations since the initial prototype. The most noticeable change is the switch from red string (too thin, and hard to see) to a porter-colored 2mm thick cord.
So that's about it. All that's really left is to make videos of the actual thing being played, which will happen next week.

